Step 1: Place an order to request an analysis report
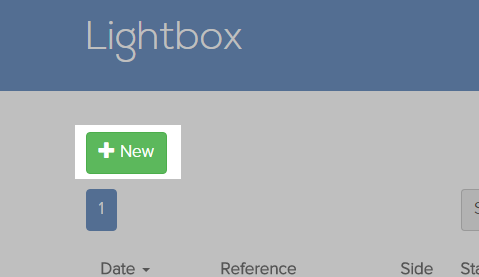
Once logged in to our webserver you are in your 'Lightbox'. The lightbox is your central overview page that you will see directly after you've signed in to your account. The lightbox lists your jobs and their status. To request a report you have to place an order (if you are still in a free trial phase you have to place an order as well) you press the '+New' button.
Step 2: Enter order specifications
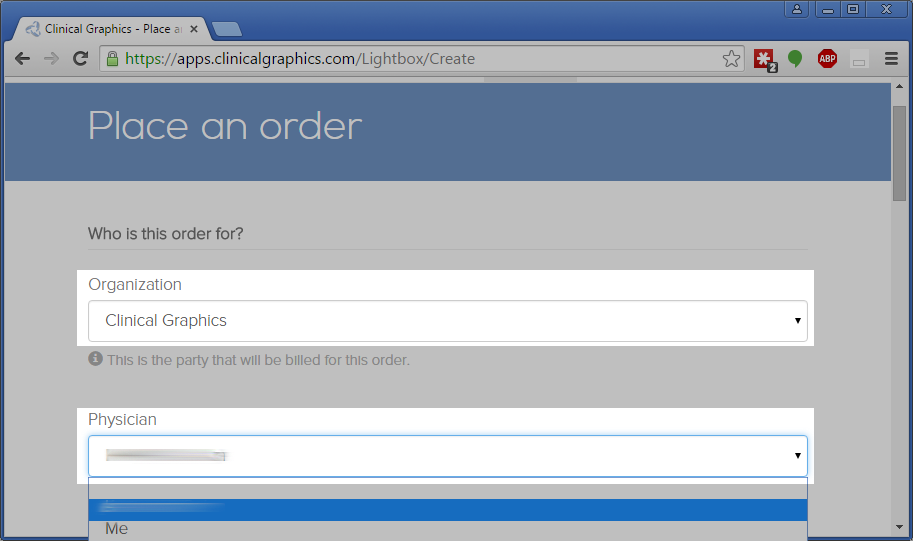
You will now be presented with a screen where you have to enter the specifications of your order. Select the organization of the physician who made the request, then select the name of the physician. This will ensure the analysis report is delivered to the requesting orthopedic surgeon.
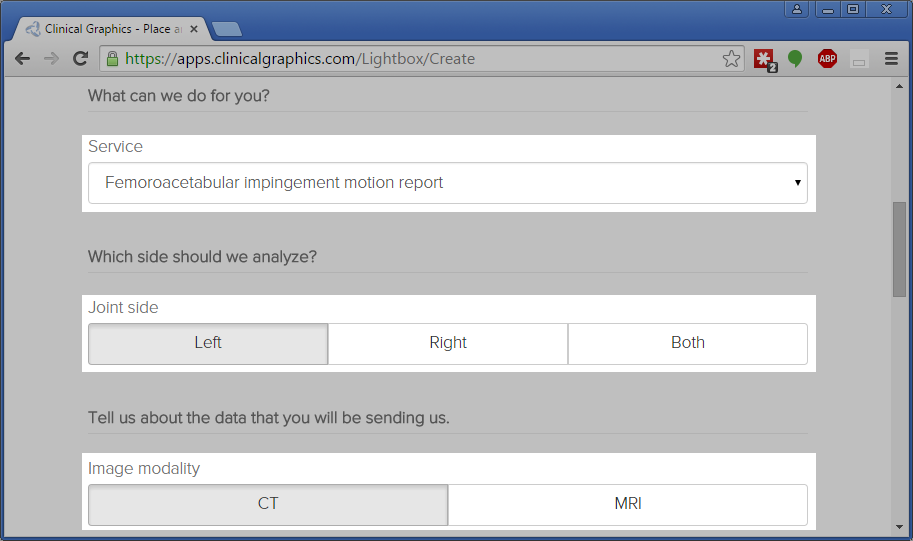
Subsequently enter the details as per the request of the physician. This would typically include the service type (Femoroacetabular impingement motion report / FAI in short), the joint side that should be analyzed and the image modality (CT or MRI) you are going to upload.
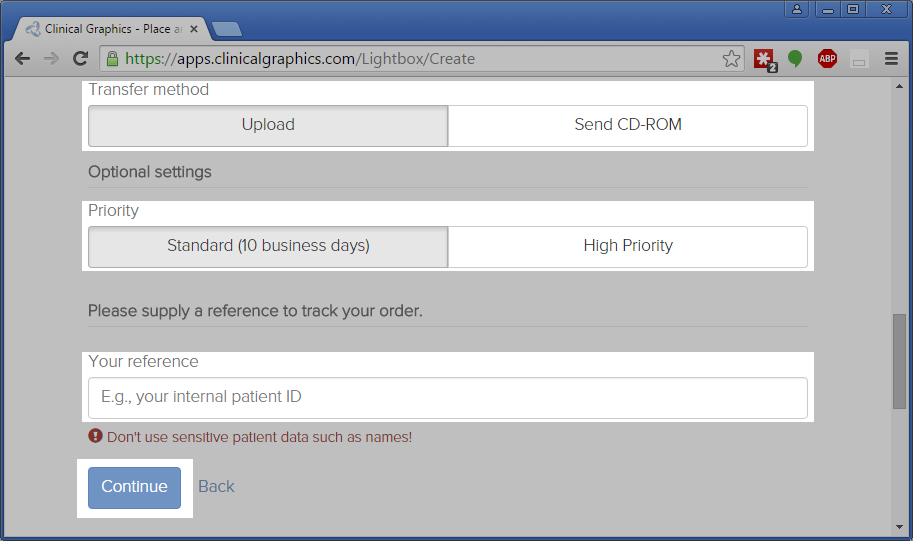
Finally, please choose a reference that you can use to identify the patient, but that has no meaning for anyone outside of the organization the request is for. Typically internal patient IDs are suitable, or birthdates and initials (e.g. ‘AB01011999’). Press 'Continue' to confirm you order specifications.
Upon confirming your order in the next screen (please press Confirm and accept our terms and conditions), you are ready to upload the image data.
Step 3: Upload the image data
You will now be presented with the screen that allows you to upload your DICOM data. You can either press the 'Upload files' button or drag and drop* files in the rectangular area.
* How to drag and drop? Go to or browse to the folder where your DICOM data has been stored, then select the files and drag them to the rectangular upload area by holding on to the left mouse button after selection of the files and just drop the files in the rectangular upload field (just let go of the mouse button).
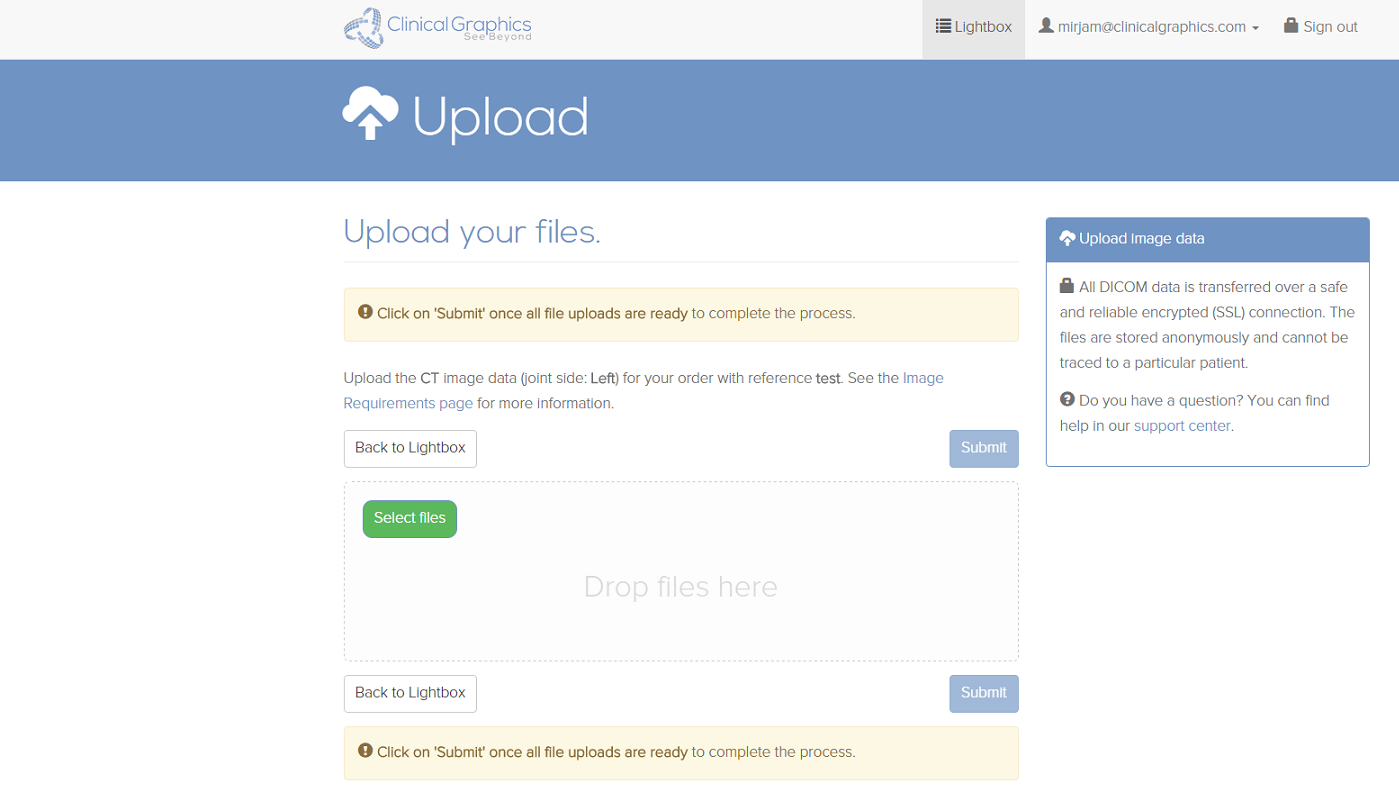
Please do not forget to press 'Submit' when all the files are listed in the rectangular area.
After you have submitted the image data upload you will be automatically redirected to your lightbox, ready to create a new order!
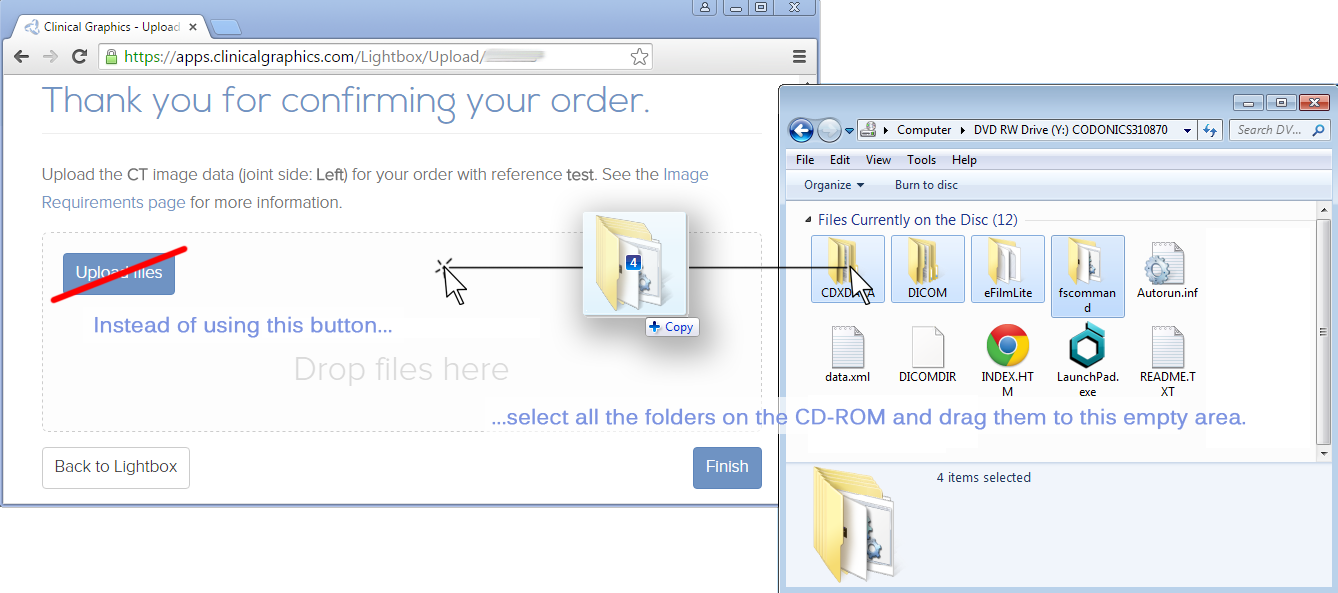
To do so, browse to your CD-ROM and open it so that you can see what files are on the CD-ROM. Then drag and drop all of the visible folders to the rectangular area of the website. Google Chrome will explore those folders and their subfolders to locate DICOM files. It will then start uploading the DICOM files.
What if you do not know where your DICOM files are...
If you do not know where your DICOM files are, but you do have a CD-ROM, it is possible to let our website explore the CD-ROM and find the files. This is only possible when using Google Chrome.